Tackling Your Wiring Nightmare – Part 1
BY ANDRE SIMON
As our cars have become more complex, the wiring ‘birds nest’ that goes along with them continues to grow, and this is one area that many enthusiasts have an inexplicable fear of. Many home enthusiasts for example are more than happy to crack into rebuilding their bottom end, perhaps fitting aftermarket cams or a turbo, but when it comes to picking up a set of wire strippers or a crimping tool they’re suddenly frozen with fear.
I get it though – wiring diagrams can be scary, and in this age of social media one-upmanship it’s easy to jump on Instagram and see intricately-constructed harnesses, all carefully pinned out into expensive Deutsch Autosport connectors complete with service loops and Kevlar lacing cord (hashtag mil-spec). Based on this, one might assume this is the only way to build your harness, and therein lies one of the problems. The term mil-spec is now all too often misused, misrepresented and misunderstood, and perhaps dare I say – even unnecessary.
So what does mil-spec mean, and should you care? Most people can figure out that the term is a shortening of ‘military specification’, which is a set of specifications that define operating standards for components destined for the US Department of Defence. With reliability and light weight being key considerations in the world of motorsport, it’s no surprise that we have borrowed from the military and aerospace industries and that the term mil-spec has started to become used and abused.
In this article we’re going to look at what’s available when it comes to automotive wiring options for the average guy or girl who doesn’t want to blow a weeks salary on a single connector, but still wants a professional and reliable result. This isn’t meant to be an all-encompassing guide to building a wiring harness, but it will address some of the most critical areas I get asked about.
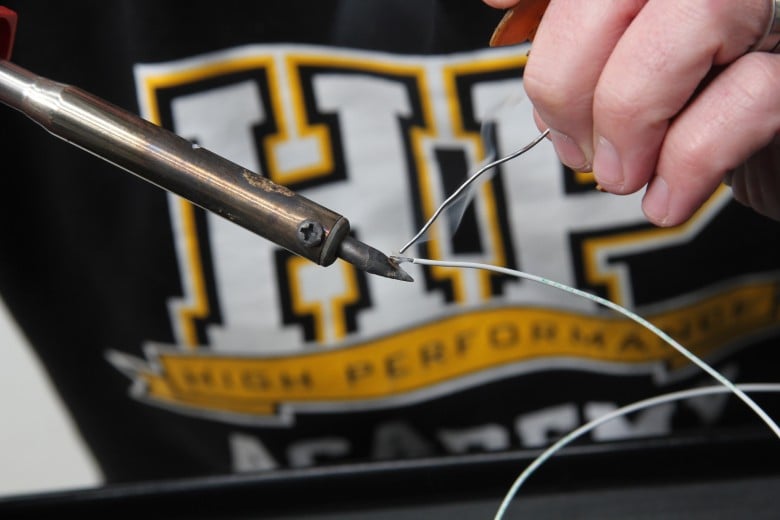
No Solder. Ever.
Wiring problems suck. They can be very time consuming and frustrating to track down, and if you want to ensure the best reliability from your harness you’re going to want to leave the soldering iron in the draw. That might sound controversial and I know there are thousands of people out there that firmly believe that solder is the most reliable way of joining wires together. Unfortunately those people are wrong. Solder is something you’re not going to find much of in a professional motorsport wiring harness.
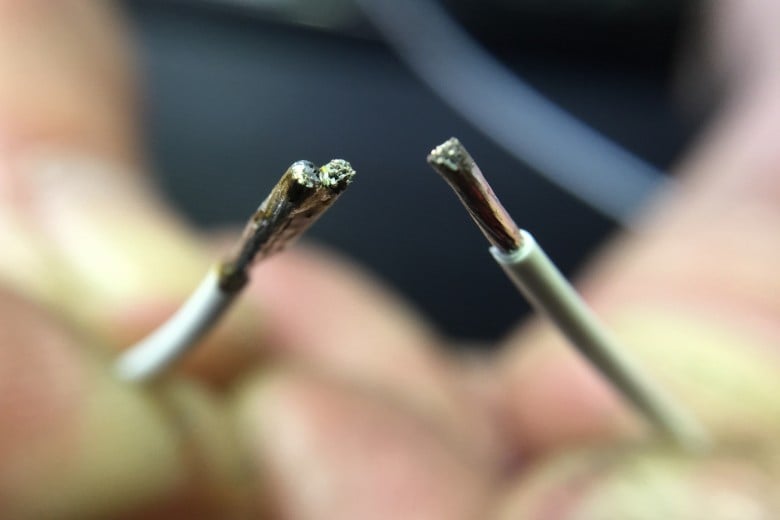
The problem with solder is not so much in the actual solder joint itself, but rather where the solder joint ends and the wire continues. This becomes a weak area that is brittle, and through vibration or movement the joint could eventually fail right at the edge of the solder joint.
The preferred technique is to crimp your connections. This is the same technique that OE manufacturers as well as those working in the likes of Formula 1 use. While I know many enthusiasts’ first thought is that crimping couldn’t possibly be as reliable as a soldered joint, the exact opposite is true. In fact, a properly crimped joint is stronger than the base wire, which is to say that if you pulled on a crimped joint hard enough, the wire strands would snap before the crimp fails.
A Reliable Connection
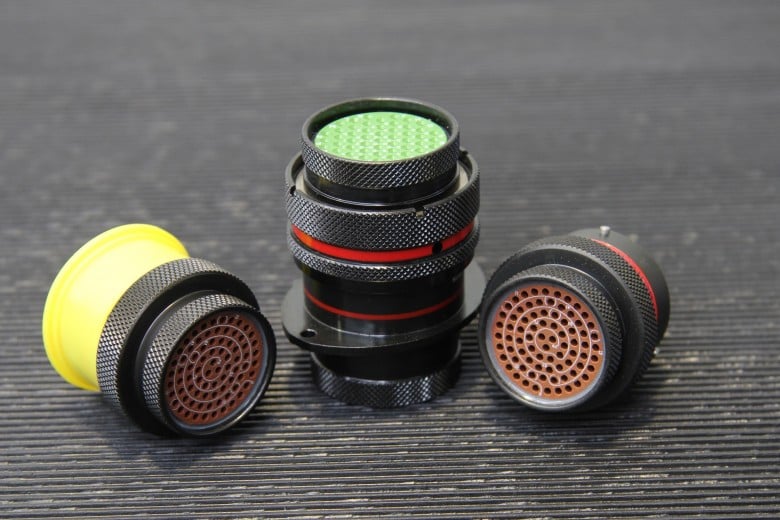
Remember those expensive Autosport connectors I mentioned? if you are building a high-end harness, then these are definitely the most reliable option when it comes to connectors. They offer the ultimate in reliability and light weight, while acting as a barrier to moisture and dust. Another advantage is ease of installation. The entire engine harness can remain installed on the engine and a single bulkhead connector links everything up to the rest of the chassis with a simple 1/2 twist. They are also great for your Instagram game.
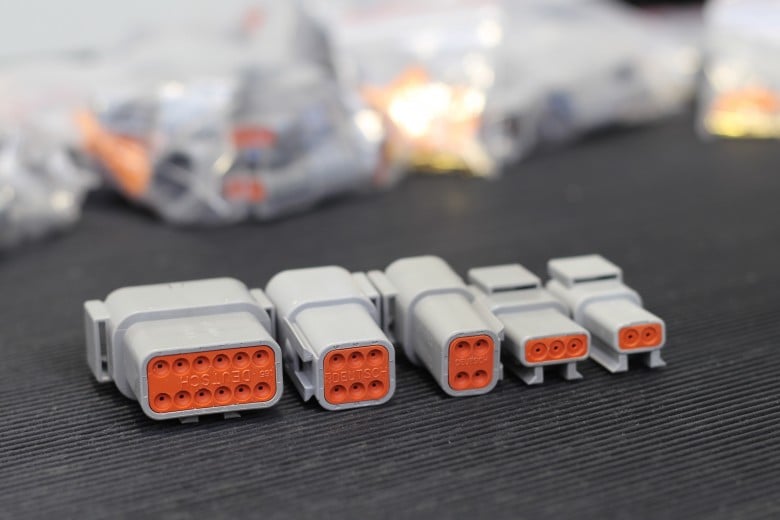
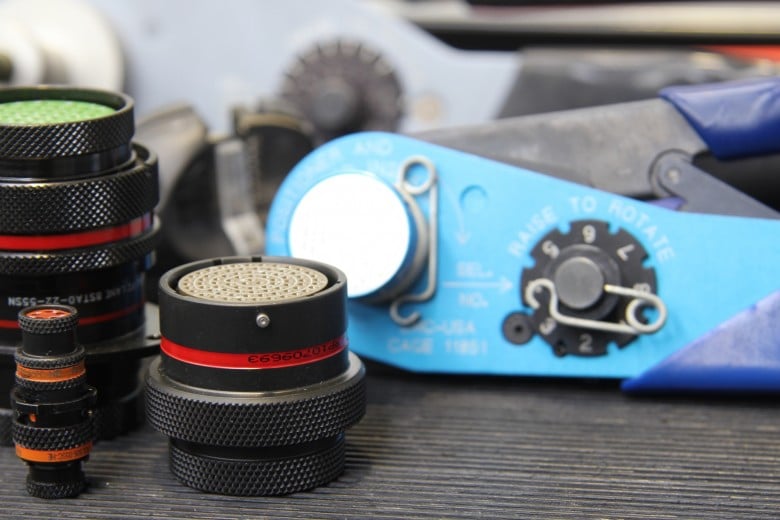
If you’re not working on an F1 car at home in your garage and you don’t want to mortgage the house to build your wiring harness, there are other options though. The Deutsch connectors pictured above are a favourite of mine. These are available in a wide variety of options to suit different gauge (thickness) wire, as well as 2 through to 12 position options. These connectors are well-priced and offer a reliable connection that is environmentally sealed and up to the rigours of motorsport abuse.
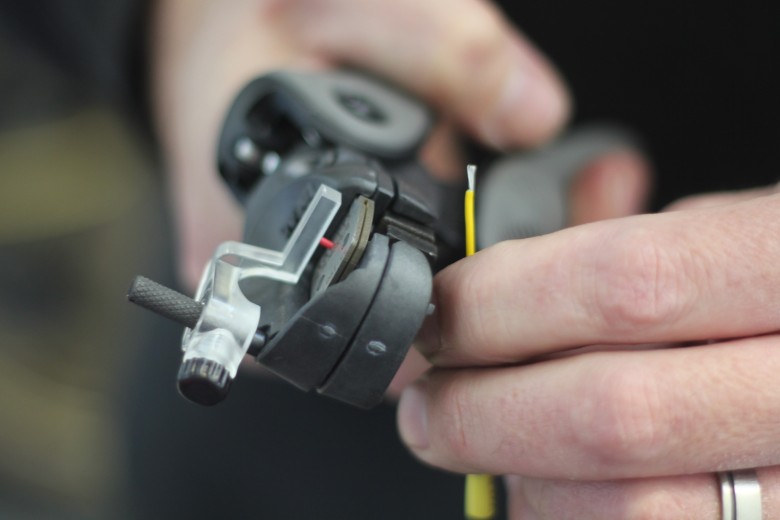
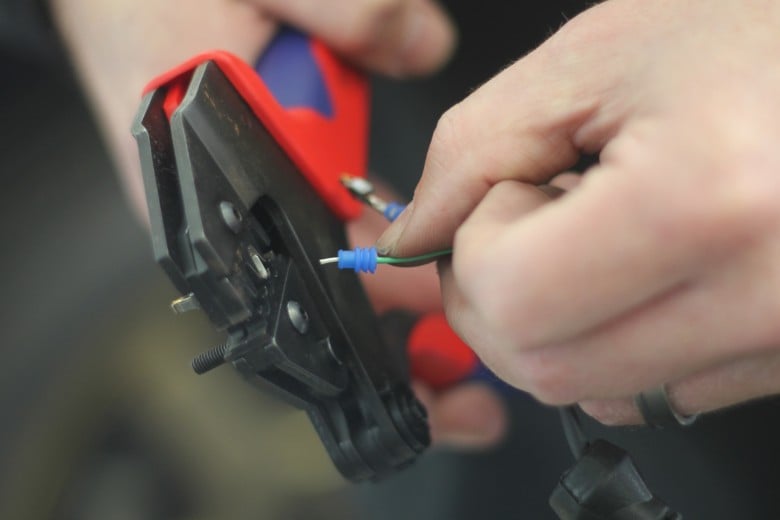
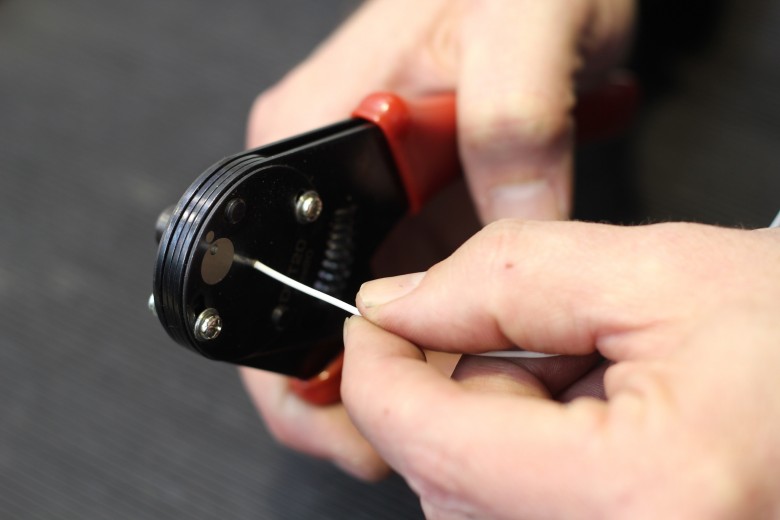
Assembling a DTM connector (pictured) starts by stripping the wire to the correct length. If you’re working with a proper mil-spec wire, even this requires some care as the insulation is very tough and it’s easy to damage the conductor strands if you’re too enthusiastic. Here we are using an Ideal Ergo-Elite wire stripper which uses a blade set specifically for mil-spec wire. This stripper also has a convenient adjustable stop that lets you achieve consistent strip lengths. That might not sound too relevant, but it’s a big help when you are terminating a lot of connectors.
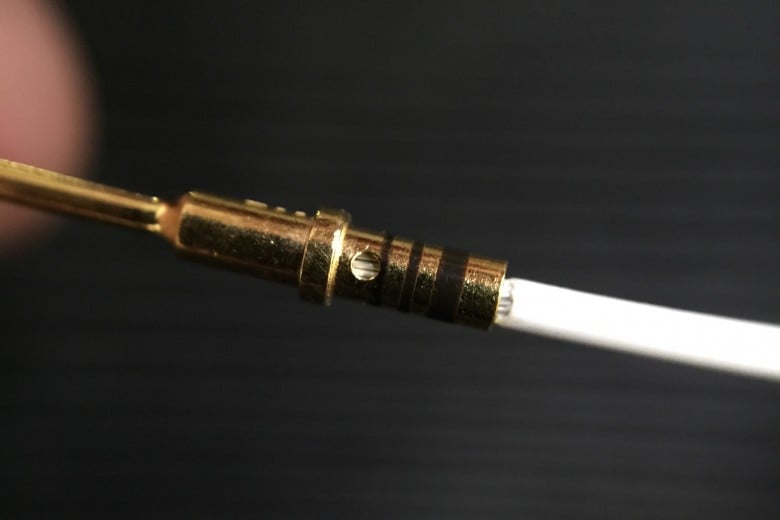
Once the wire is stripped it can be inserted into the terminal. If you’ve got the right length of insulation stripped, you should be able to see the conductor strands through the small window in the terminal to confirm the wire is fully inserted. At the same time though we also want a small gap between the insulation and the back of the terminal. This ensures that there will be no stress placed on the wire due to movement between the wire and terminal.
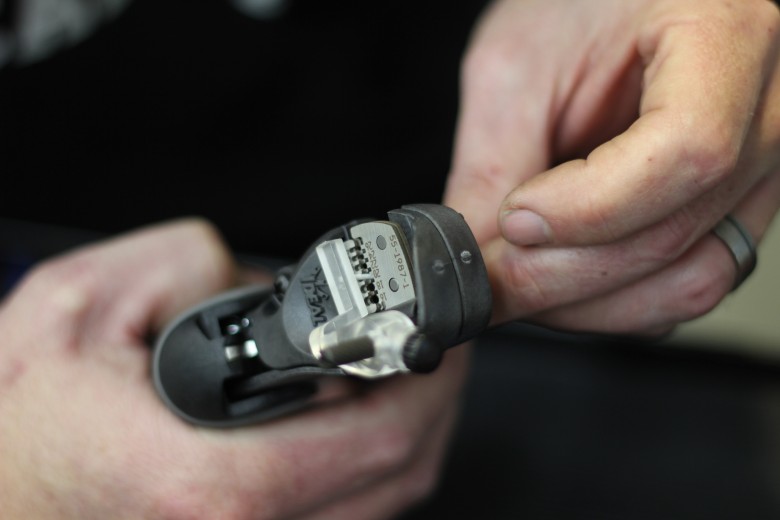
Now the terminal can be crimped onto the wire. While there are expensive professional-grade crimp tools that suit these connectors, for the home enthusiast you don’t need to go crazy. The crimp tool we’re using here should set you back no more than about US$50 and is very quick and easy to use. It positions the terminal correctly to ensure the crimp is properly located, and they are available to suit different gauge wire.

With the terminal crimped we can finally install the terminal into the connector before placing the locking wedge into the connector to prevent the terminal coming out. There you have it – a reliable connector that won’t break the bank.
It’s A Twisted World
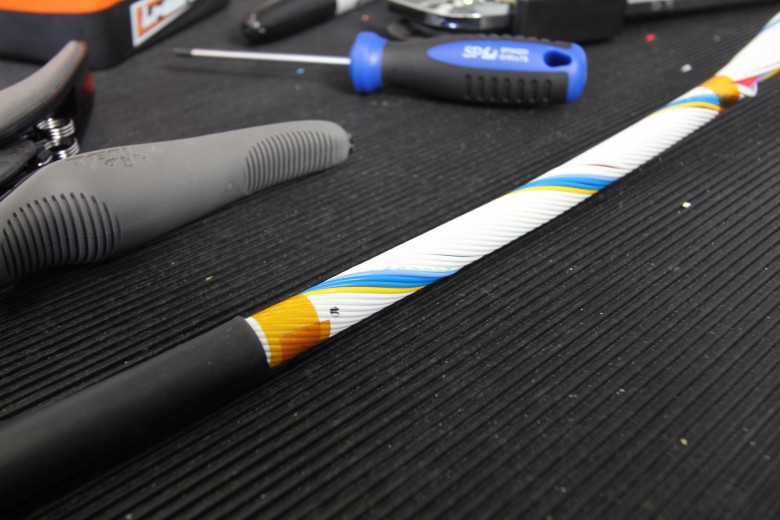
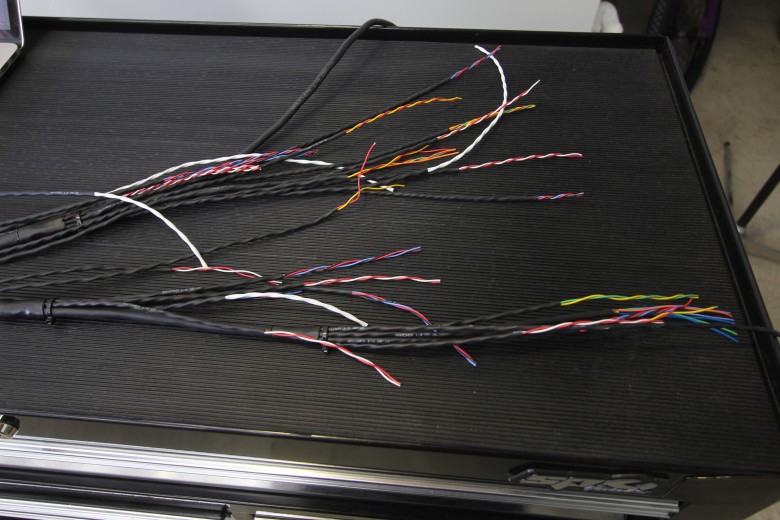
If you follow anyone in the motorsport wiring industry on Facebook or Instagram you have almost certainly seen a wiring harness all bare and naked before the protective heat shrink tubing is shrunk down over the top. The technique used to create these masterpieces is called concentric twisting and again it’s not well understood. This method involves twisting the wires in layers around a central core wire. Each layer of wires is twisted in the opposite direction to the previous layer, and as the layers increase we add more wires. Actually, to be precise, each time we add a layer we increase the number of wires by six.
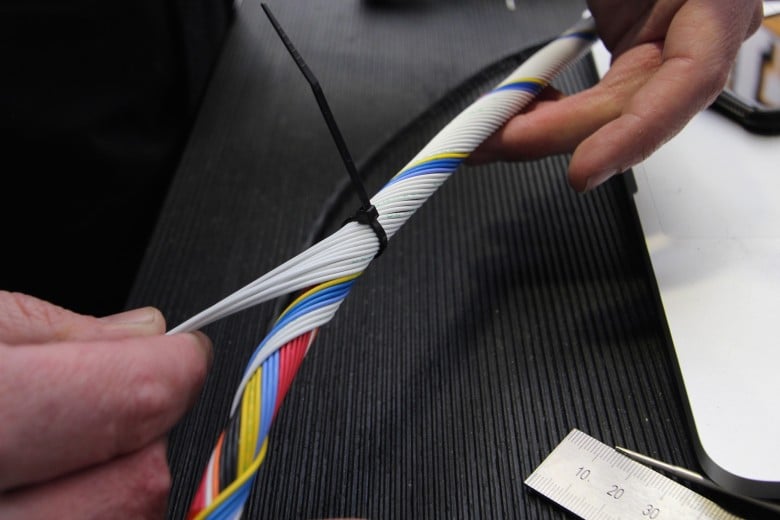
Of course, things become more complex when we start dealing with multiple wire gauges and shielded cable too. It’s not all about creating pretty pictures for Instagram though. The concentric twisting technique creates a wiring harness with a very small cross sectional area, as well as a harness that offers great flexibility.
If you’re working with Raychem DR25 heat shrink tubing as a final protective layer for your harness, concentric twisting will also make it much easier to do a tidy job of installing this rather than trying to pull it over a bunch of haphazardly-tangled wires underneath.
So far I’ve discussed a few of the common questions I get asked about motorsport wiring techniques, but it’s hard to do justice to the topic in one story. Next article I’ll continue and we will cover shielding inputs, the importance of proper grounding, and how to protect your harness from the elements and ensure reliability.
SOURCE: ANDRE SIMON – HIGH PERFORMANCE ACADEMY